I've been hinting at a big opportunity in the last month or so and I can finally share with you what it's all about. Today, Chrissie Boon of
Icing Inspirations and
Too Nice To Slice in Kitchener, Ontario, Canada, announced my guest teacher classes being offered from
September 17-19, 2011! Chrissie has a very successful cake studio in Kitchener where she makes beautiful wedding and special event cakes, but one better she has a large back studio where she can offer interested cake enthusiasts classes on how to make sugar flowers, cake decorating courses and more! I definitely hope that many of these cake artists will want to learn more about
DECO Clay Craft Academy and want to become members of the school and learn the fabulous skills and techniques that we have been taught as instructors.

Chrissie has been following my work on Facebook and asked me last month if I would consider teaching some workshop style classes to cake artists who would really take to the clay flowers. I am completely honored to be asked and to have the opportunity to share the art of clay flowers taught to me by
DECO Clay Craft Academy and the CLAYCRAFT by DECO products with talented cake artists! This is a great opportunity to promote
DECO Clay Craft Academy member classes in Canada so cake artists who take a liking to DECO Clay art to learn the techniques from a DECO certified instructor (Tracey Paul of
Invite Me Creative Announcements). Tracey has graciously agreed to assist me in teaching these classes.
This will open up a whole new medium for them and although quite different in the way we construct flowers, I think they'll find joy in making clay flowers as an alternative to sugar and possibly want to join member classes!

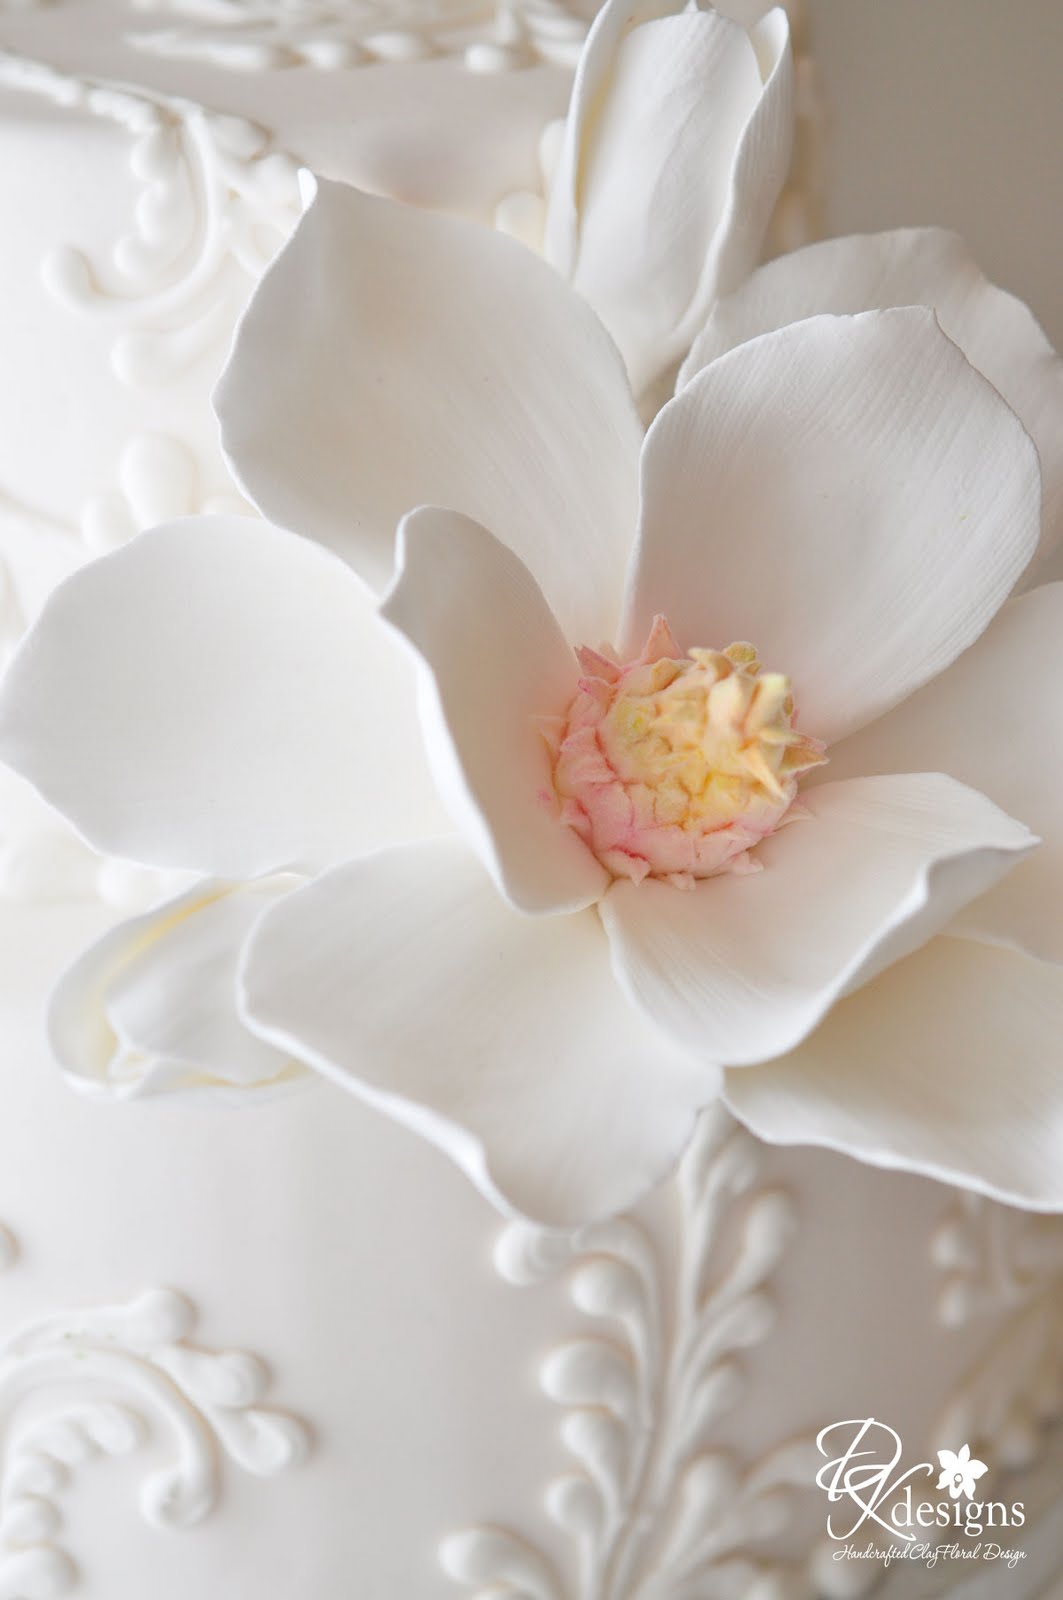
I'll be teaching 2 different flower arrangements that lend themselves to more of an English style arrangement as well as a tropical arrangement, and explain how DECO Clay Craft Academy art can be applied to not only cakes but so much more! The above photo was chosen because Chrissie wanted to showcase how amazing the clay art of DECO Clay Craft Academy is and all the amazing things you can make with this amazing clay!
Class size is limited. If you are interested in the classes, please visit
Icing Inspirations for more information.
Chrissie has had amazing cake artists such as Rick Reichart of Cakelava and James Roselle who were both featured on the Food Network Cake challenges! I'm honored to be among the artists to be asked to teach at her wonderful studio in Kitchener! I have had quite a following of sugar and artists from around the world who have been amazed at what I do, so I'm VERY excited to finally be able to share the art of DECO Clay Craft Academy to Canadian cake artists.
.png)
 My client Michelle, contacted me almost a year ago and asked if I could do her flowers for her wedding that is going to be in Jamaica. It's a small destination wedding with their family and close friends. She found me via my other blog post of a past bride who also got married in Jamaica. Michelle fell in love with Elisa's bouquet as those were the exact colors of her wedding.
 Michelle also realized that I do wedding invitations and so I ended up doing her invitations as well. I'm in the home stretch. I just have the boutonnieres, corsages and cake flowers to finish up, but the main pieces, 4 bouquets and 3 centerpieces are finally done.
 Michelle ran into a small snag with her reception flowers and asked if I could do the job. We decided to incorporate her bridal party flowers as centerpieces and then she asked me to make 3 more centerpieces that were lower that would compliment the bouquets. We agreed on frosted glass vases and wrapped them with her fuchsia pink ribbon that she asked me to use as it matches the pink that is used throughout her wedding, not to mention her shoes. :)
 The color combination is vibrant and striking. I never get tired of this combination of lush greens, pinks and oranges. Definitely makes you ready for Spring and Summer!